Create a Workspace in Growify
Step 1: Start the Onboarding Flow
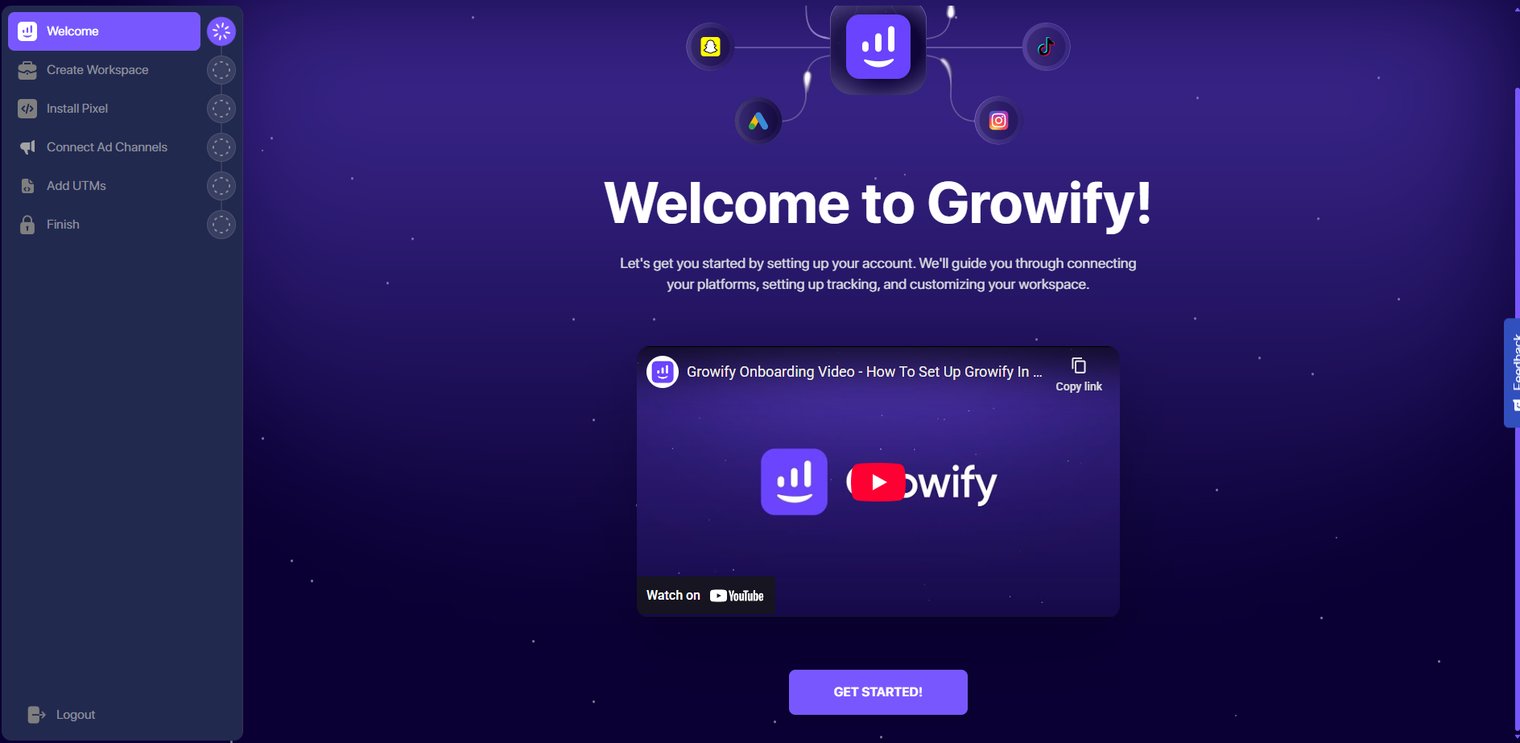
After creating and verifying your Growify account, you’ll be redirected to the Welcome to Growify screen.
-
Click the Start or Get Started button
-
Growify will automatically guide you to the Create Workspace step
This is the first required step before installing the pixel or connecting ad channels.

Step 2: Open “Create Workspace”
From the left sidebar, make sure Create Workspace is selected.
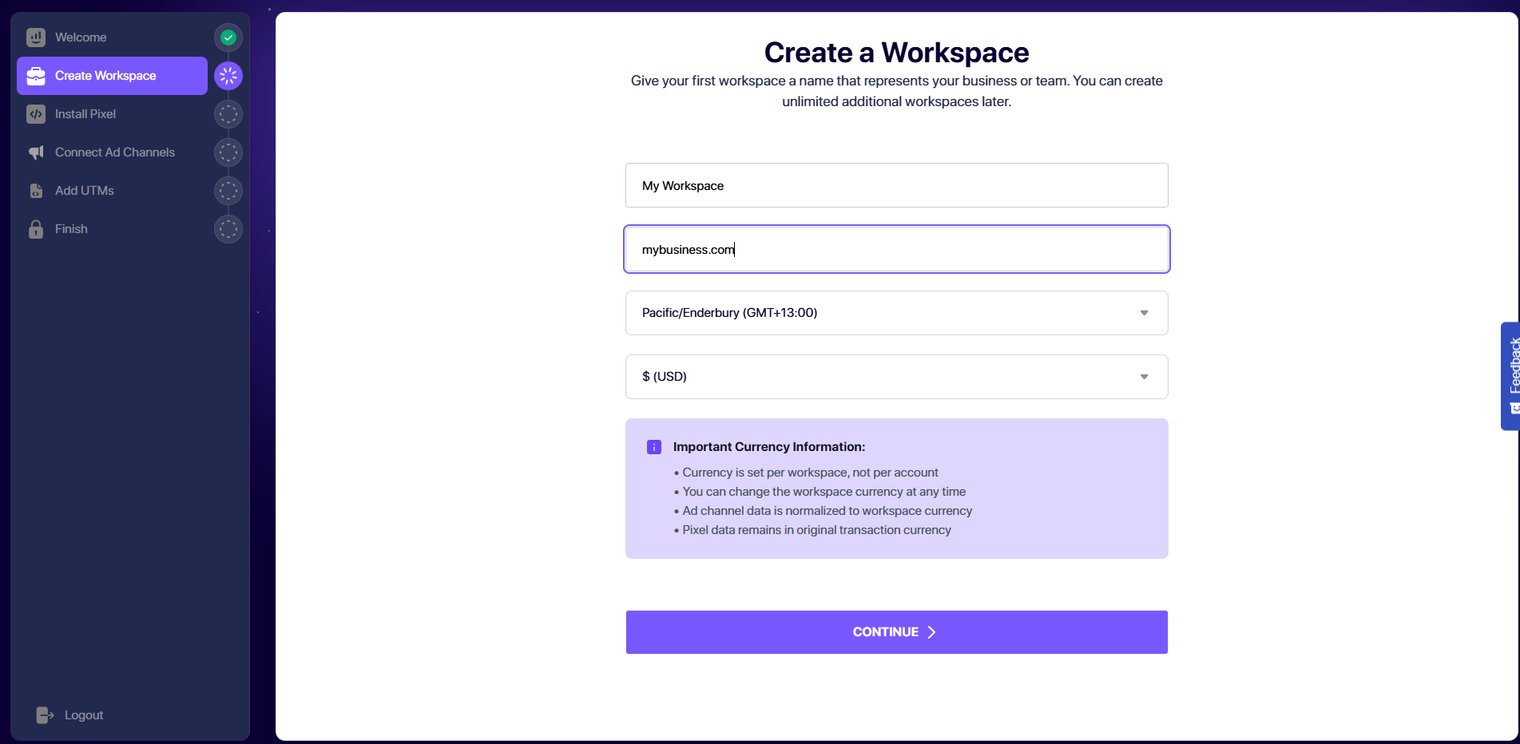
You’ll see the Create a Workspace page with a simple setup form.
Step 3: Fill in Workspace Details
Complete the following fields carefully:
1. Workspace Name
-
Enter a name that represents your business or brand
Examples: My Store, Acme Ecom, Client – Brand Name
👉 This name is for internal use and can be changed later.
2. Website URL
-
Enter your main website or store URL
Example: https://mybusiness.com
👉 This helps Growify correctly associate tracking and analytics with your site.
3. Time Zone
-
Select the time zone where your business primarily operates
-
This affects: Reporting dates, Daily metrics,Performance comparisons
📌 Tip: Choose the time zone where your ad account and business decisions are based.
4. Currency
-
Select the currency you use for ad spend and reporting
-
Common examples: USD ($), EUR (€), GBP (£)
⚠️ Important:
-
Currency is set per workspace, not per account
-
You can change it later if needed
-
Ad data will be normalized to this currency
Step 4: Review Important Currency Information
Before continuing, review the notes shown on the page:
-
Currency is set per workspace
-
You can change it anytime
-
Ad channel data is normalized to workspace currency
-
Pixel data remains in original transaction currency
This ensures accurate reporting across platforms.
Step 5: Create the Workspace
-
Double-check all entered details
-
Click the Continue button
🎉 Your workspace is now created!